Animate with Paint Tool SAI – Easier Then it Appears
Paint tool SAI is a lightweight editor for bitmap images and a painting software that first released in 2008, making it one of the oldest programs of its nature. It became very popular among both beginner and more advanced users because of its simple user interface that has a large number of different tools. Although animation with it can be a bit complicated, there are a few simple steps that you can follow.
Download and Installation
The program supports many versions of Windows, from Windows 2000 all the way to Windows 10, both 32 and 64 bit. Paint tool SAI download is an easy process with an even simpler installation wizard. Once you check/uncheck the wanted boxes, installation is over in a matter of seconds and you’re ready to start drawing and animating.
Drawing With Paint Tool SAI
When you first open the program, you’ll be greeted by a fairly simple interface containing a ribbon menu and a section with tools that contain multiple customization options.
– To start, you’ll need to create a new canvas by clicking on File-New. After inputting the wanted height and width, click on the OK button
– After the canvas is created, select the tool with which you’ll draw with from the tools menu and draw the first frame of the animation
– Then, reduce the opacity of the selected layer and create a new one from the left side of the program
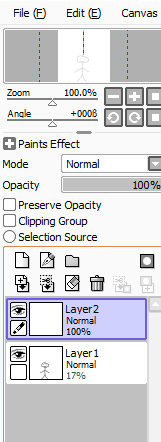
– Draw the next frame, reduce the opacity of the selected layer, hide the first one by clicking on the little eye icon (1) and create a new layer (2)
– Repeat the process for however many frames you want your animation to have
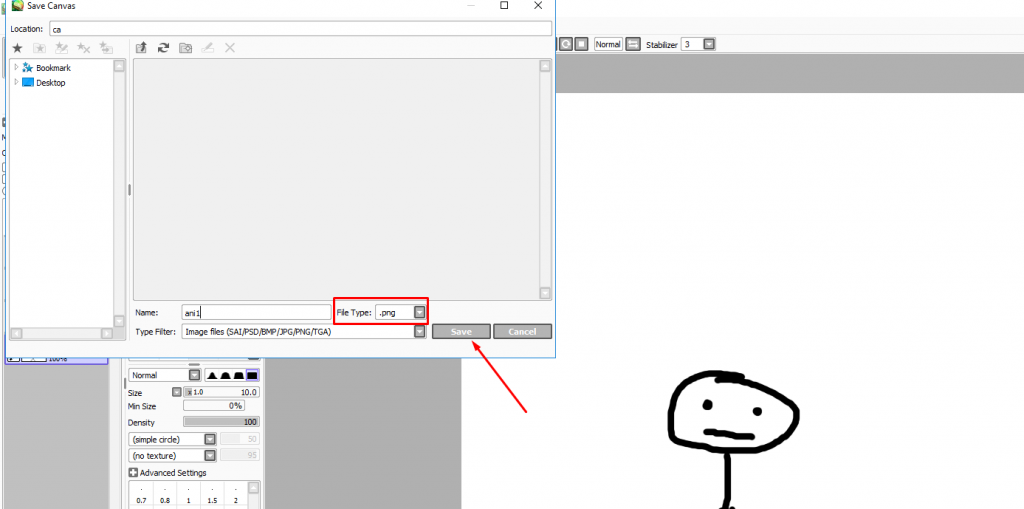
– Afterwards, you’ll need to save each layer. Start at layer 1 and hide every other layer. Turn the opacity back to 100%, go to File-Save As, name it however you want and in the file type select .png extension
– Repeat this for all layers, but remember to make it the ONLY one visible while saving it by removing the eye icon from every other Once saved, you can move to the next step of making it into an animation.
Creating an Animation
Since SAI is a painting software and doesn’t have a built-in animation tool, we’ll need to use a third-party app to connect all the layers (frames) we previously saved. There are both online and offline tools that can be used, some free and some paid.
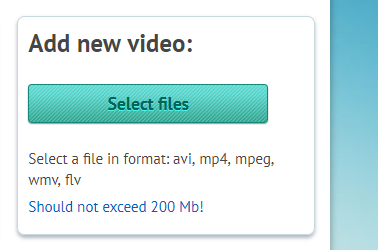
Some of the more popular offline tools which can be used to connect images into an animation include Photoshop, Movie Maker, Sony Vegas etc. Almost any larger photo editing or movie making software has the ability to create an animation, although they can take up a lot of hard drive space.
A much easier alternative is a free, online GIF maker tool that requires no download and gets the job done in a matter of seconds. For our purpose, we’ll use EZgif Maker.
How To Create a GIF
To start, go to ezgif.com/maker. You’ll be presented with a few buttons used to upload images and create the GIF. The website supports up to 2000 files, which means that you can use up to 2000 different layers from SAI, enough for almost all purposes.
– First, click on the “Choose Files” button and select all of the layers/frames you want to use in your animation.
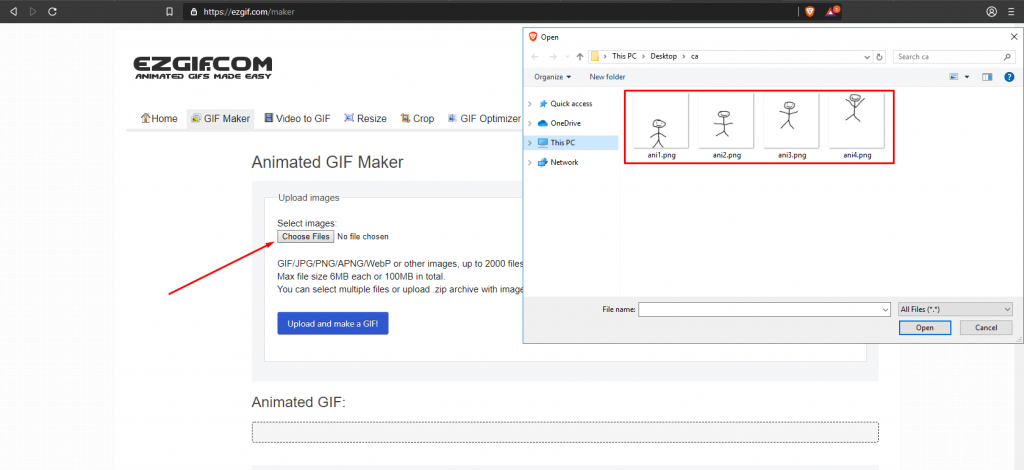
– Then, click on the blue “Upload and make a GIF” button.
– At the next screen you’ll be able to make some modifications to your end result. You can rearrange the order in which frames will appear, as well as the delay between them and some other minor options. If you’re unsure of what they do, its best to leave them by default.
– Once you’re done, click on the blue “Make a GIF” button. You’ll be shown a preview and given the option to download it They also give you an option to optimize it, which can reduce the file size if its too big (common when the animation consists of too many frames).
Although it might seem complicated at first, animation with SAI is extremely easy if you follow these steps. Experiment with different tools and try out new things. With a little bit of imagination, you can get some pretty impressive results.